1. The Basics
Multi-user setup
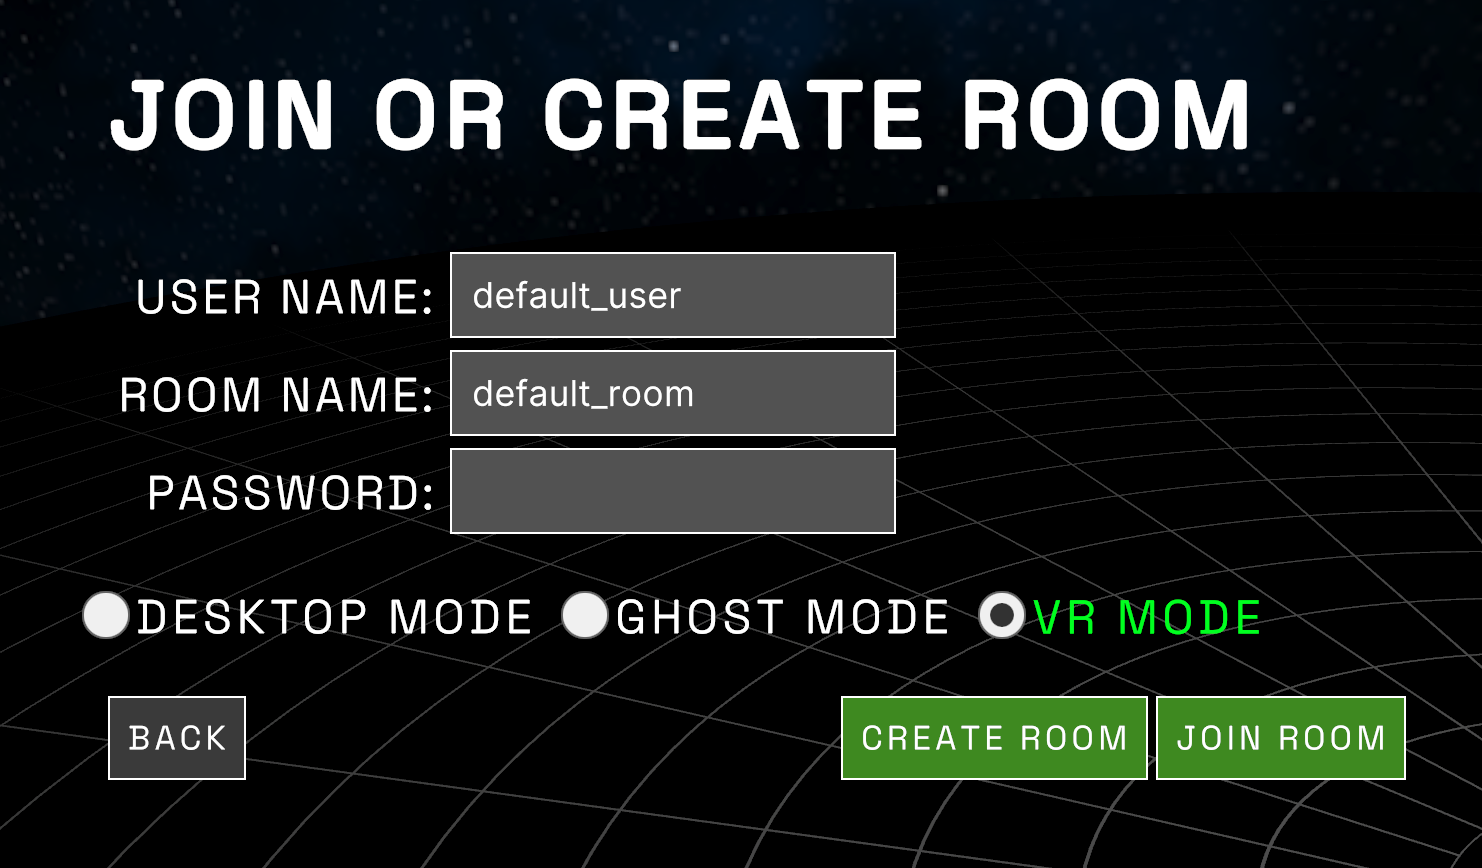
After clicking the Multi-user button in the start up menu another menu will appear. This menu asks you to type in a room name, password and a user name. If you want to create a new room for other users to join type in a room name and give it a password. The password has to be a 4-digit code. Click on "Create Room" and give the room name and the password to the other users so they can join. If you instead want to join a room you provide the room name and password and then click "Join Room".
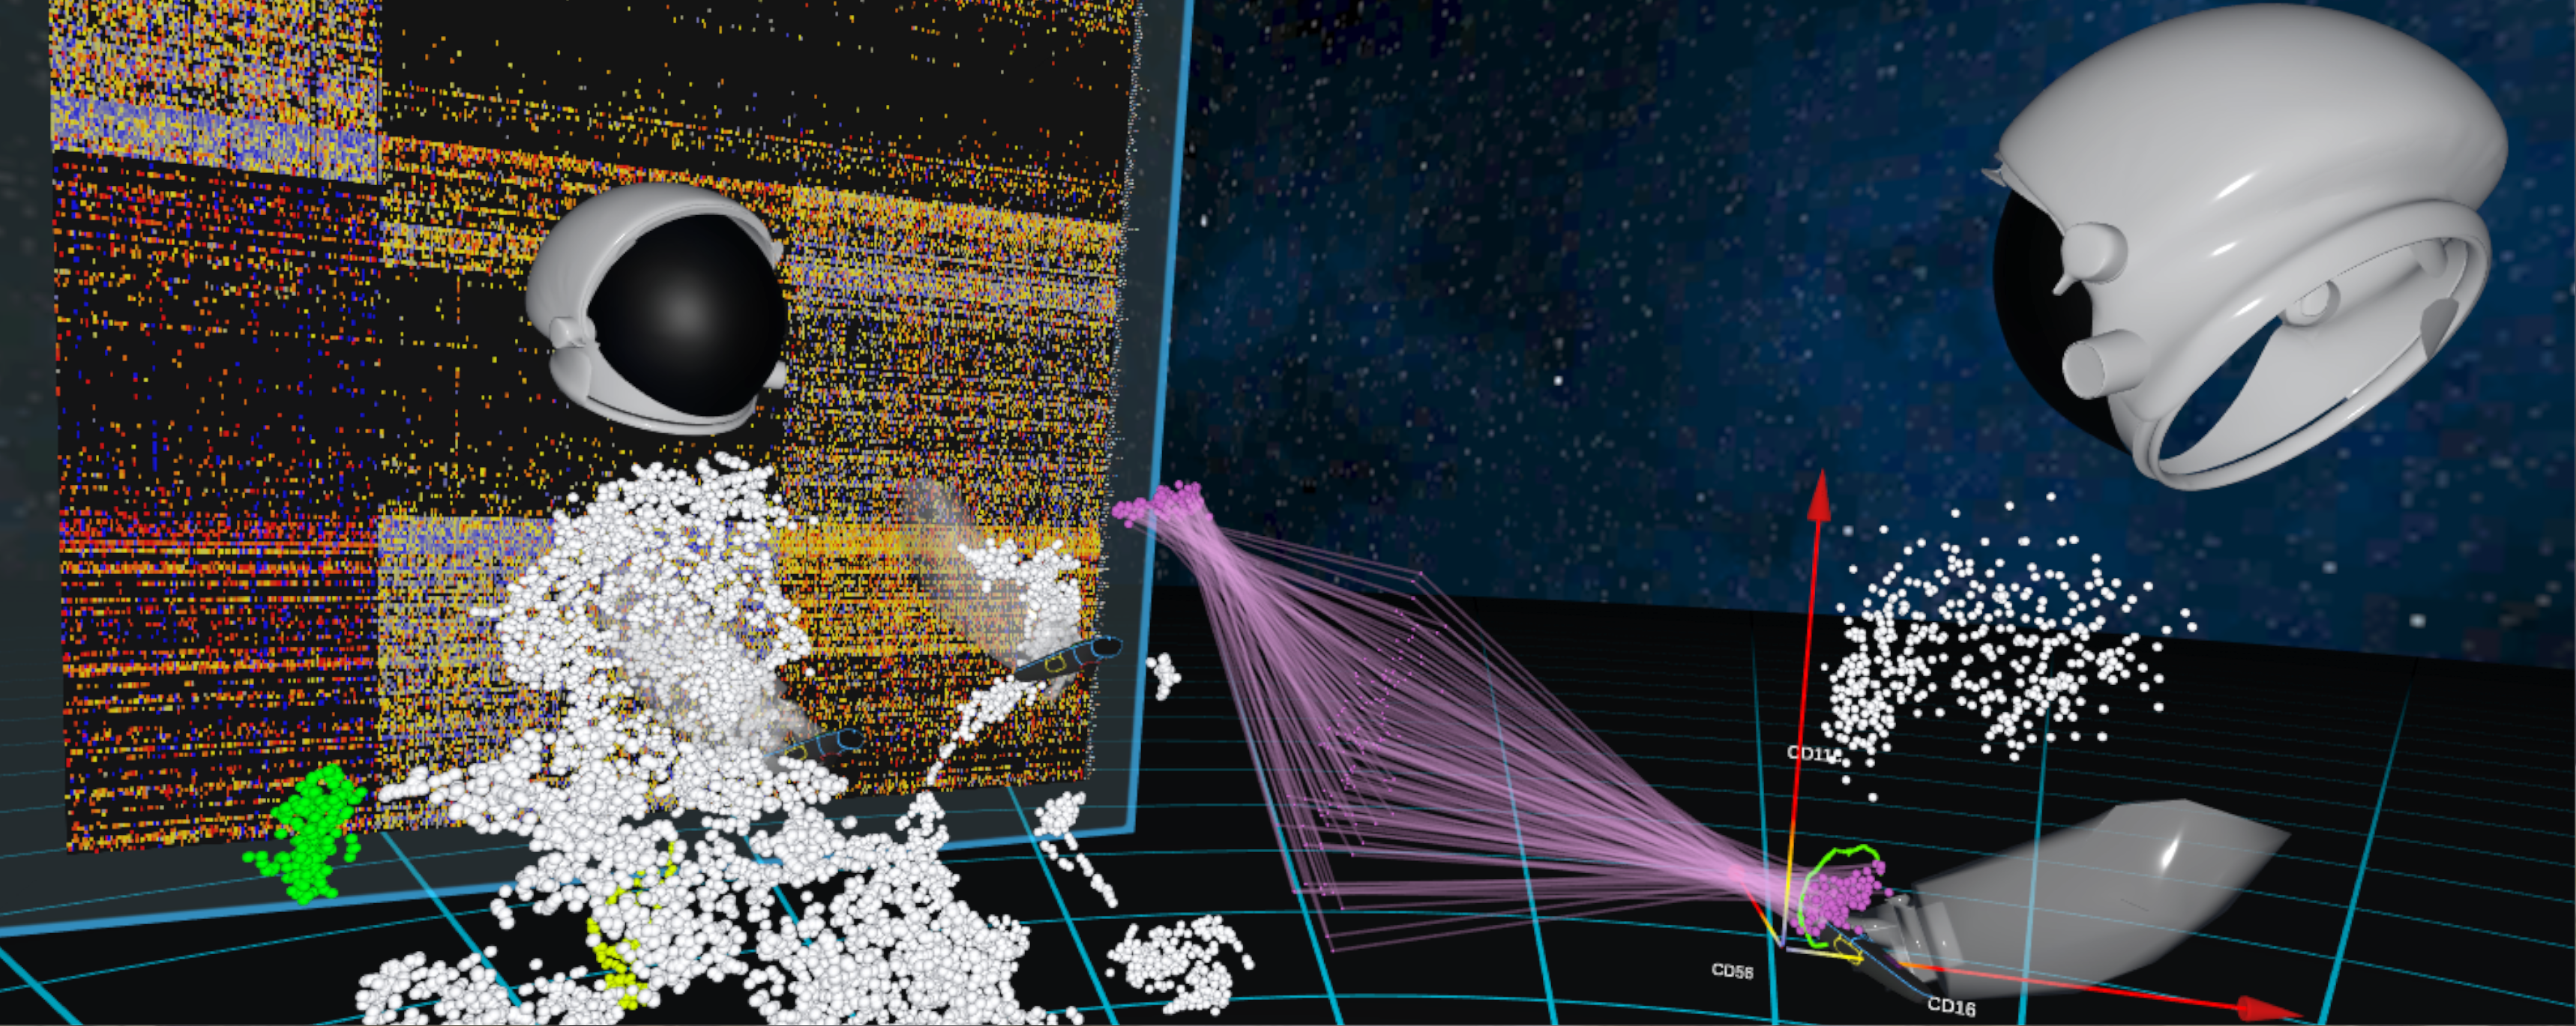
Each user is represented by an astronaut avatar with the user name written above their head.
To be able to analyse the same data, all users must have downloaded the data and have it locally on their machines, in folders with the same name. The calculations are all done locally. This means that when one user for example selects some cells and creates a heatmap the same functions will be called in all other user's sessions. Because users may use different hardware, things like heatmaps and networks may appear quicker for one user than another.
For multi-user mode to work properly, wait until all users have connected before beginning to load data and analyse it.
There are three different view modes that a user can choose by clicking the buttons next to Join Room. VR mode means that a user will have a visible avatar and use a VR headset + controllers to navigate.
Ghost mode is more of a passive user. The user will not be able to move or manipulate the graphs but will be able to move around the scene with a VR headset. Users in this view will not be visible to other users.
Desktop mode does not use VR but instead navigates via the desktop keyboard and screen. This user will also be a passive spectator and not be visible to the other users.
To ensure a synchronised session and to avoid confusion between the users in the same session, the config file will be matched. This means that the host of the session (the one that creates the room) will force the other users to use the same colour settings as he or she is. Users can still change their config via the settings menu. These changes will be made also on the other connected users config. The synchronising of the config is only temporary so when a user later goes back to single-user mode the old config file will be used so your favourite configuration is not lost.